Best Greyhound Betting Sites – Bet on Greyhounds in 2026
A greyhound racecard is dense with information, but most of it lives in one small section: the form line. Those compressed rows of numbers, letters, and abbreviations are the dog’s recent biography, condensed into a format that experienced punters can scan in seconds. For anyone who has not spent years at the track, the form line looks like a cipher. It is not — once you know the code.
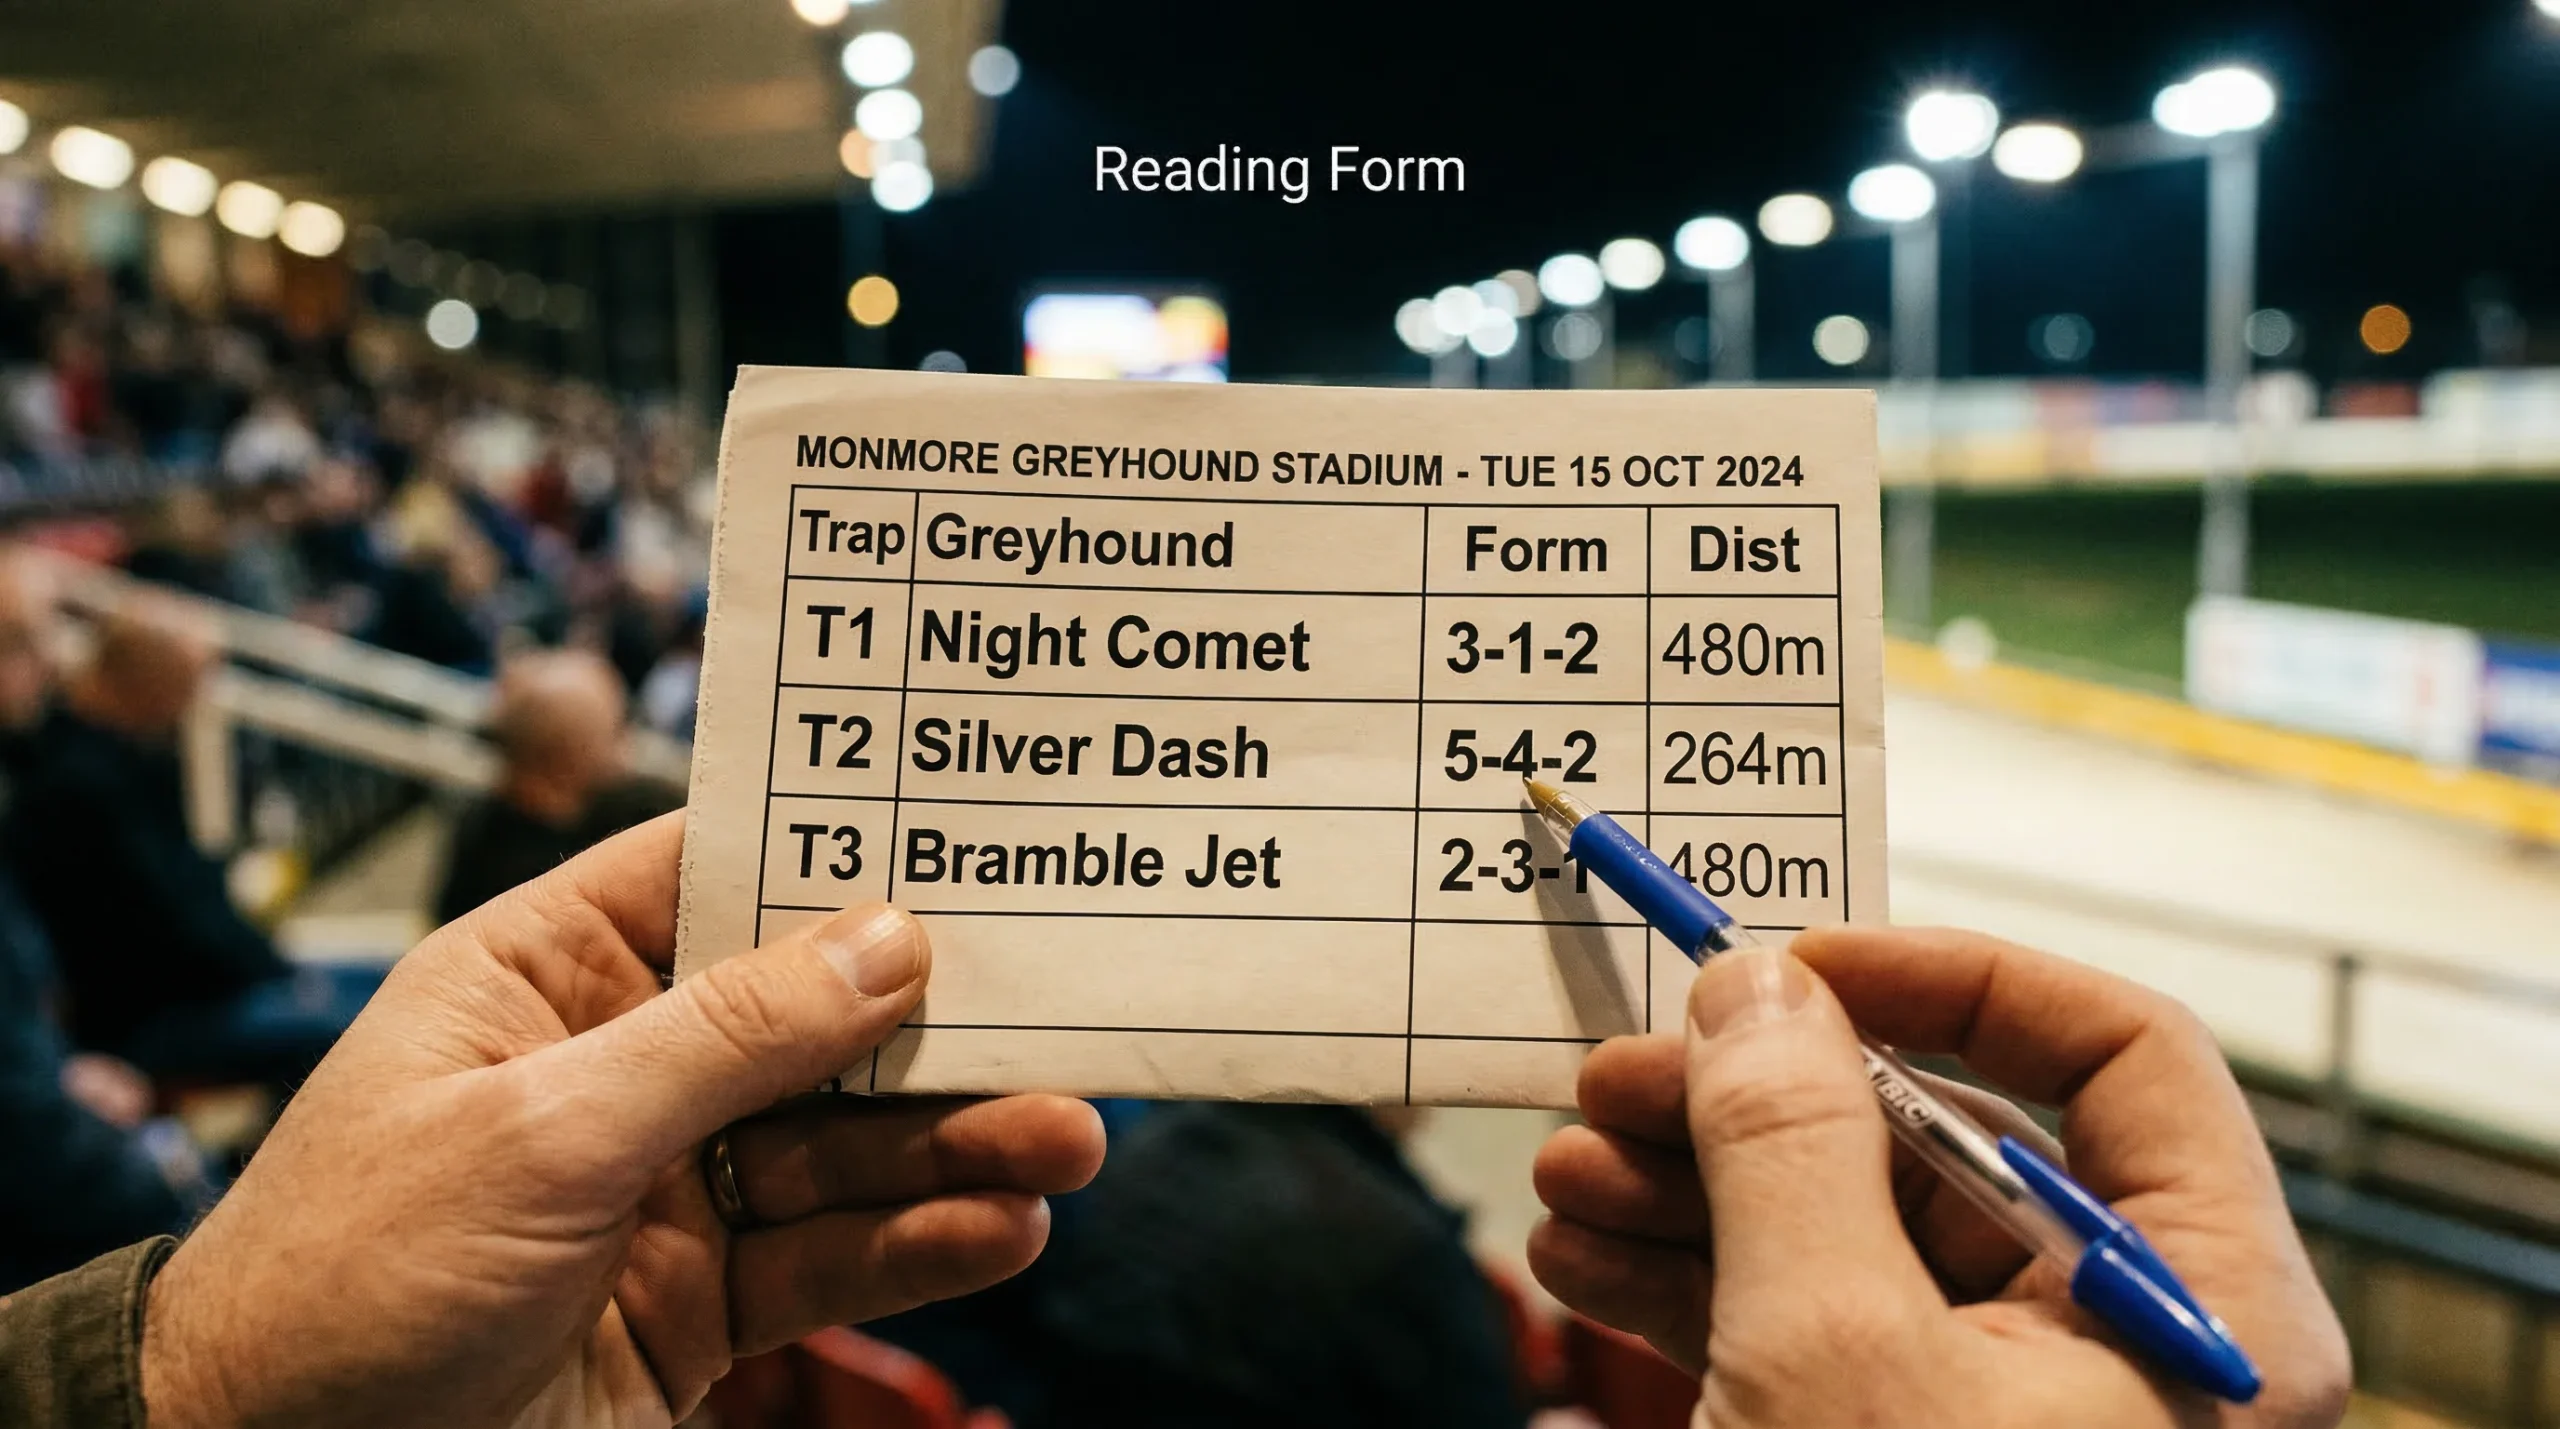
At Monmore Green, Monmore form figures follow the same conventions used across all GBGB-licensed tracks, which means the skills you develop here transfer directly to any other UK greyhound venue. The form line tells you where a dog finished in its recent races, what trap it ran from, which track it raced at, what distance it covered, and how fast it ran. Layer in weight data and the race comment, and you have a remarkably complete picture of a greyhound’s current condition and competitive level.
This guide walks through each element of the form line, explains what the numbers and codes mean, and shows how to assemble those fragments into a practical assessment of any Monmore runner.
Position Figures, Trap Numbers and Track Codes
The most prominent numbers in any form line are the finishing positions. A sequence like 2-1-4-3-1-6 tells you that the dog finished second, first, fourth, third, first, and sixth in its last six races, with the most recent run on the right. Reading right to left gives you the trajectory: this dog won two starts ago, then had a poor run last time. That context matters — a 6 as the most recent figure needs explaining before you write the dog off or back it at a bigger price.
Each finishing position is usually paired with a trap number. A figure displayed as 2(T1) means the dog finished second from Trap 1. This pairing is critical at Monmore because trap draw has a documented influence on race outcomes, particularly at the standard 480m distance. If a dog’s only recent win came from Trap 1 and it is now drawn in Trap 5, the form figure tells you it can win — but the trap context tells you it may not repeat the feat from a wider draw.
Track codes appear alongside the figures to indicate where each race was run. Monmore has its own code, and you will also see codes for tracks like Romford, Hove, Sheffield, Hall Green, and others. This matters because form earned at one track does not transfer perfectly to another. Monmore’s five distances — 264m, 480m, 630m, 684m, and 835m — are specific to its 419-metre oval, and a dog that ran well over 480m at a larger track may find the tighter bends at Monmore less to its liking. When you see a form line full of away-track codes, treat the figures with slight caution until the dog has shown it handles Monmore’s circuit.
Distance codes sit next to the track codes. A form entry might read “480” or “264” to indicate the distance of each run. Paying attention to these is non-negotiable. A dog with six recent runs at 480m being entered over 630m is stepping up in distance, and its 480m form figures may not reflect its stamina over the longer trip. The reverse is equally true — a stayer dropping back to 480m might have the speed to compete but not the sharpness to deal with the faster early pace.
Race times appear either in the form line or in a separate column. These are the dog’s finishing times for each race, usually expressed in seconds and hundredths. At Monmore, a standard 480m time in the middle grades sits in the range of 29 to 30 seconds. Faster times indicate higher ability; slower times suggest a lower grade or unfavourable conditions. Comparing a dog’s times across its recent runs tells you whether it is improving, declining, or holding steady — and that trend is as useful as the raw number itself.
One figure that newer punters sometimes overlook is the race class or grade, which may appear as A1, A4, A8, or similar. This tells you the level of competition the dog faced. A first-place finish in an A8 race is not the same achievement as a first-place finish in an A2, and the form line’s utility depends on reading these grades alongside the positions. A dog that has been placing consistently in A3 races will likely dominate if it drops to A5 — but only if you noticed the grade context in the form.
Weight Trends and Comment Lines: What Trainers Won’t Tell You
Weight is recorded at every race and appears on the racecard, usually in kilograms. It might seem like a minor detail alongside finishing positions and times, but weight trends are one of the most underused tools in greyhound form analysis.
A stable weight across several runs is generally a positive sign. It suggests the dog is in a settled routine, eating well, and not experiencing the kind of stress that causes weight fluctuation. A gradual increase of half a kilogram or more over two or three races can indicate a dog that is putting on condition — which might mean it is not being worked as hard in training, or that an underlying issue is reducing its activity level. Either way, it warrants attention. A weight drop, on the other hand, can be positive if it brings the dog back to its known best racing weight, but concerning if it dips below that mark, which can suggest overwork or poor health.
The industry has tightened its oversight of greyhound welfare in recent years, with GBGB reporting a 73 percent increase in routine kennel visits as part of its welfare strategy. That increased scrutiny means trainers face more accountability for their dogs’ condition, and weight data has become a more reliable indicator as a result. A dog consistently presented at a healthy, stable weight is more likely to be in the care of a diligent kennel, which is a small but meaningful confidence booster when making selections.
Race comments are written by the stewards or race commentator after each race and describe how the dog ran. They might note a slow start, a bump at the first bend, a strong finish, wide running on the bends, or interference from another dog. These comments are gold for form readers because they explain the result in a way the finishing position alone cannot. A dog that finished fifth but was described as “badly crowded first bend, stayed on when clear” ran a much better race than its position suggests. Without the comment, that fifth-place finish looks poor. With it, the dog becomes a potential value bet next time out.
Common comment phrases have specific meanings that become second nature with experience. “Led to the third bend” means the dog was in front for most of the race but faded — a stamina concern at longer distances. “Slow away” means the dog was late out of the traps — a red flag for sprint races, less critical at 835m. “Ran on” means the dog was finishing strongly, which points to stamina reserves. “Checked” means the dog was interfered with and had to adjust its stride, losing ground in the process. Reading these comments for the last three or four runs builds a narrative that pure numbers cannot provide.
Building a Form Profile for a Monmore Runner
Reading individual form elements is useful. Building them into a profile is where the real work happens. When you sit down with a Monmore racecard, the goal is not to check one piece of data in isolation — it is to construct a short narrative for each dog that answers a simple question: is this dog likely to run better or worse than the market expects?
Start with the finishing positions. Is the dog improving, declining, or fluctuating? A sequence of 5-4-3-2 is a clear upward trend. A sequence of 1-3-5-6 is an obvious decline. Fluctuating form — 2-5-1-6-2 — suggests a dog whose performance depends heavily on circumstances like trap draw, pace, and running luck. These are the dogs that can produce value when the circumstances align, but they need the right race to deliver.
Next, overlay the trap and distance information. Did the dog’s best runs come from a particular trap? If it won from Trap 2 and finished sixth from Trap 5, the trap data is telling you something about its running style. Did its worst runs come at an unfamiliar distance? A dog with strong 480m form that posted a poor figure in a one-off 630m attempt should not be marked down for that result — it was racing outside its comfort zone.
Then check the times. Are they improving, and are they competitive with the grade it is currently entered in? A dog posted to run in A5 whose recent times are closer to A3 standards is well placed. A dog whose times are drifting upward, meaning it is getting slower, may be heading for a demotion even if its positions have not collapsed yet.
Finally, read the comments. Look for patterns rather than isolated incidents. If a dog has been slowly away in three consecutive races, that is a behavioural pattern, not bad luck. If it has been finishing strongly in two of its last three runs, that points to improving fitness or a distance that suits its stamina. The comment line turns a flat row of numbers into a three-dimensional picture, and building that picture for each dog in a race is the single most effective way to find Monmore form figures that the market has undervalued.